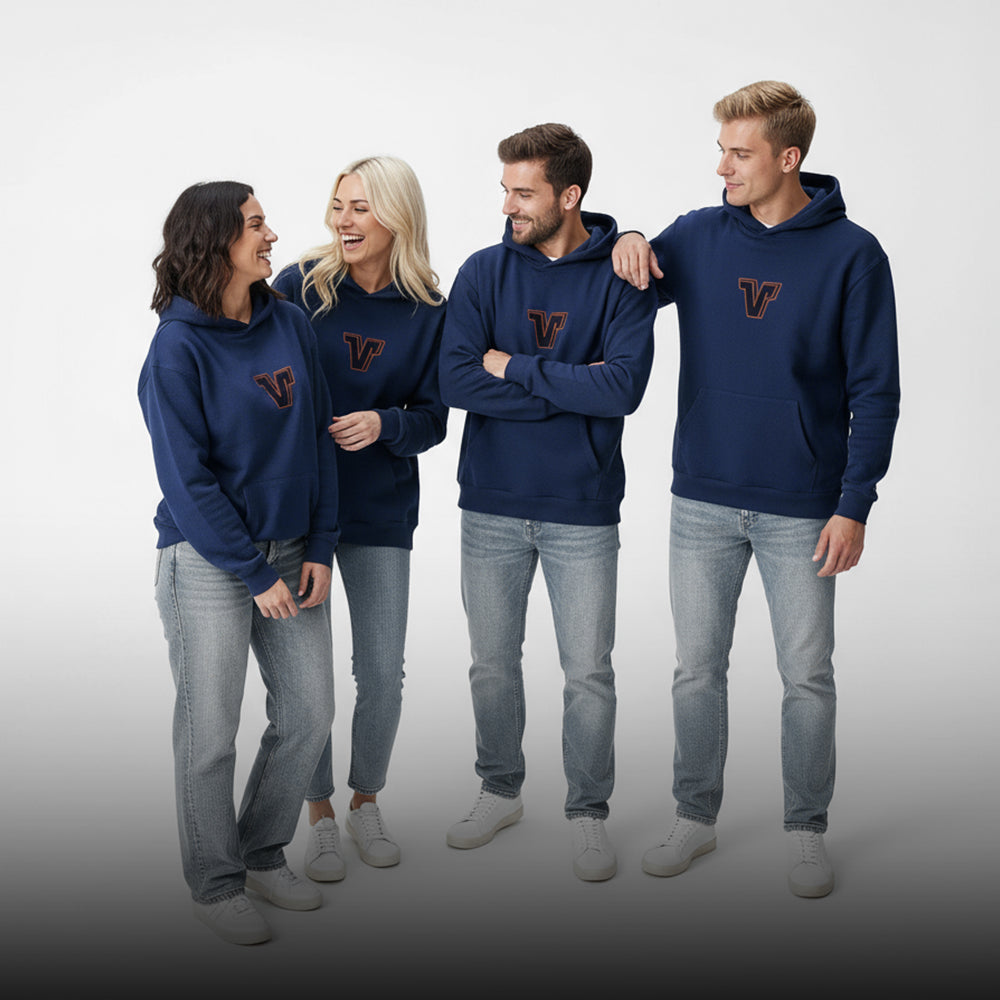
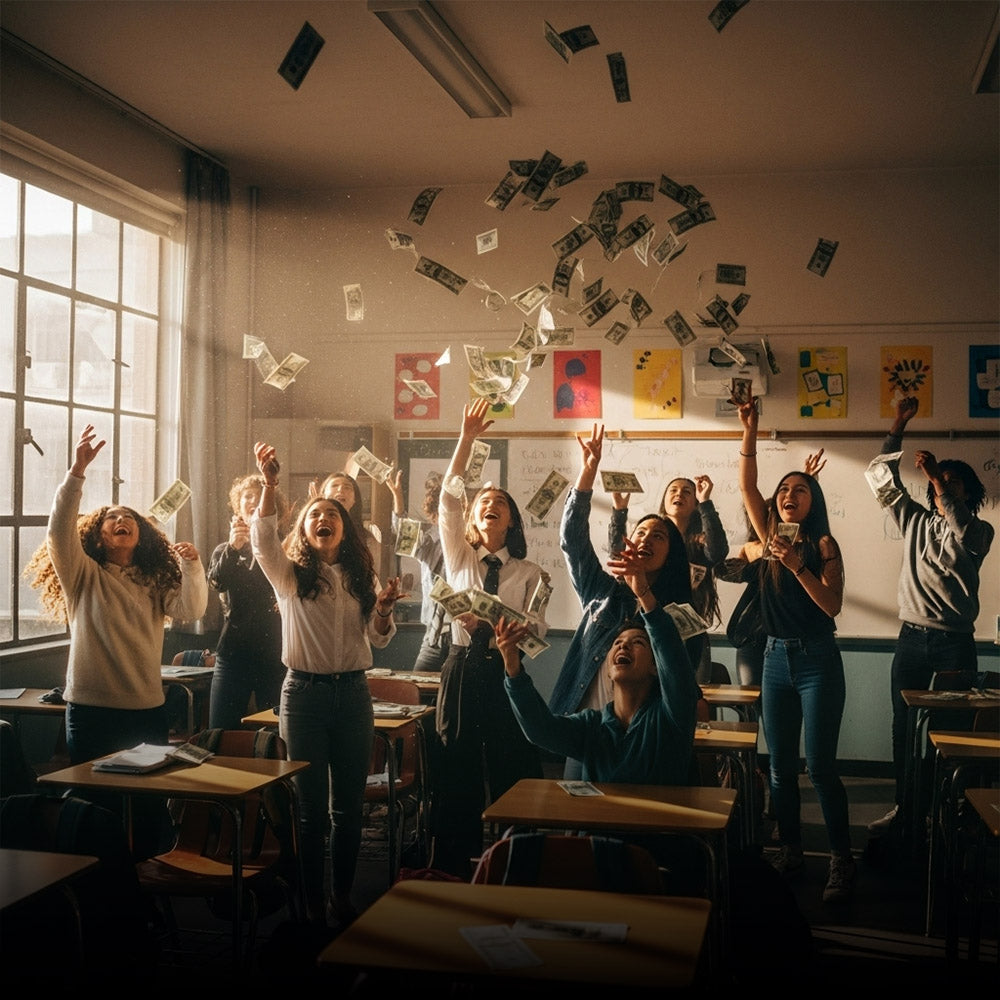
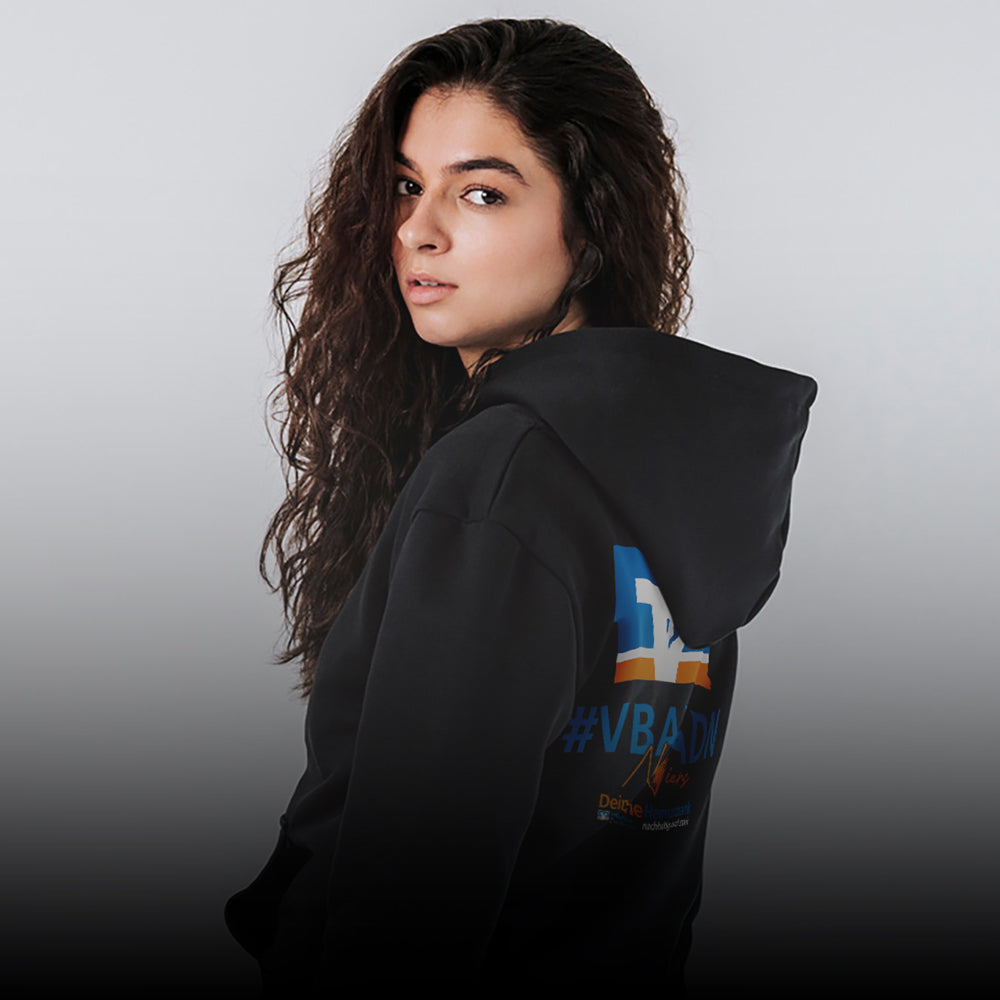
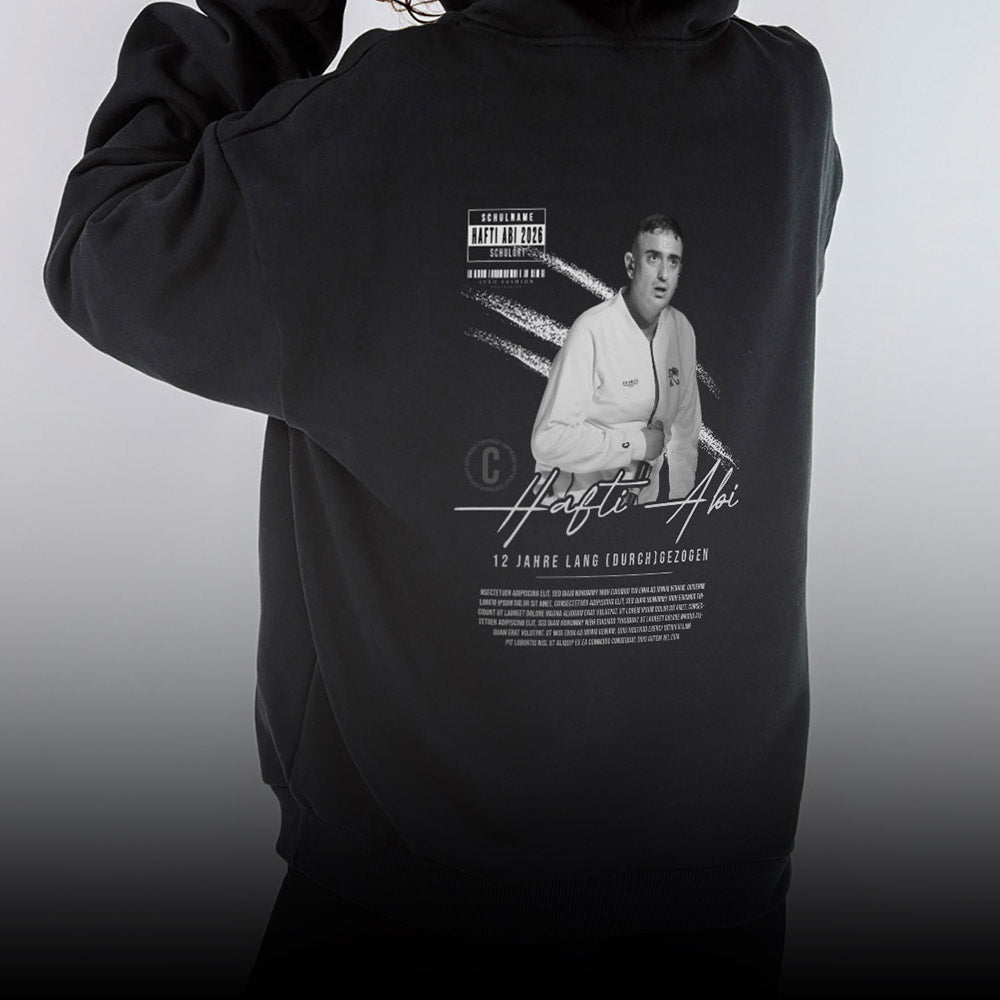
A picture says more than 1000 words. Everyone knows the saying. But what no one tells you is how much work it can be to take a good picture. Technically as well as visually. It's not for nothing that there are so many professional photographers who specialize in exactly this, such as our Alessandro .
Since we have noticed in a number of projects how well high-quality and stylish images can help promote your own school clothing, we sat down with content professional Alessandro Kühnl and put together a simple 10-point plan that will make your images a breeze . So if you would like to take your own photos easily and cheaply for your new school collection or another project, you have come to the right place.
Examples - Properly presenting sustainable school clothing in schools
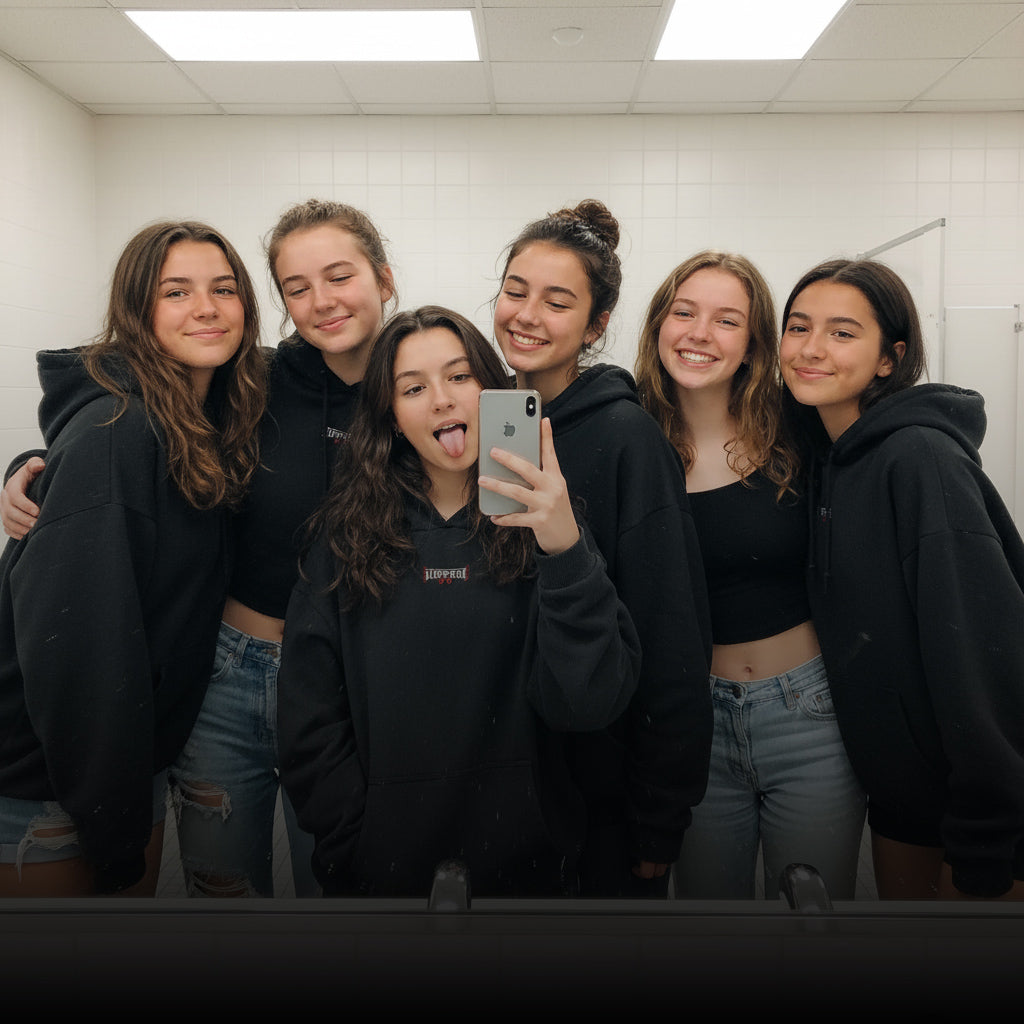
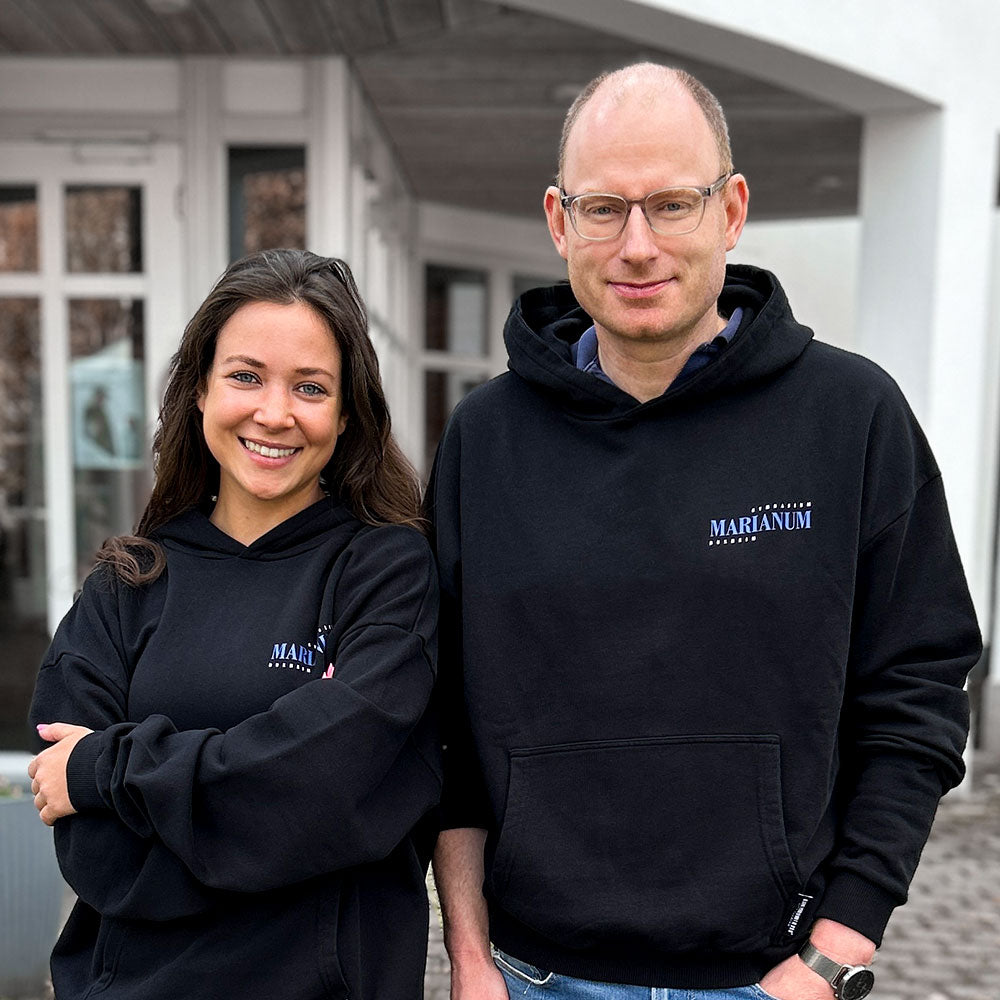
Here you can see a few examples of pictures that the students themselves organized and made for their projects with us. You can use your smartphone or a digital camera if you know someone who has one. The decision is yours. The following tips can be applied in both cases. If you follow the tips below, you can get a lot out of your pictures!

1. Don't take photos directly in the sun
Light is one of the most important factors when taking photos. When the light from the sun hits the object directly, unsightly shadows appear on the subject. It is also uncomfortable for the model in front of the camera because the sun is shining directly on her face. Please note the following tips regarding light sources for outdoor shoots:
- Go into the shadows to take photos
- Above all, avoid the midday sun as it is the strongest
- Evening sun can be consciously used as a stylistic device
Avoiding direct sun offers these advantages:
- More beautiful skin
- Less shadow on the face
- More open eyes
- More pleasant for the models

2. Which channel are you using the images for?
Always create the content to fill the entire area: If you produce content for social media, it should usually be created in portrait format. This is how you get the best result. Simply cropping in landscape format is not very effective, as the subject is usually not clearly visible or you quickly notice that the image was not originally intended for that purpose. Make sure that the object is always in the middle (in portrait format) or in the golden ratio (in landscape format). The so-called “image composition” makes a big difference visually.
For print media or websites, on the other hand, it is better to produce horizontal images. Before the shoot, always think about what you want to use the pictures for in the end.
3. Make sure the models feel comfortable in front of the camera
One of the most important factors for authentic photos is the well-being of the people in front of the camera. Therefore, create a relaxed atmosphere throughout the entire shoot.
We have the following tips for you:
- Don't start straight away, just get used to it and get to know it
- Always tell people what you are doing, such as "I'm going to take a few test photos to check the settings."
- A small music box is also very suitable for lightening the mood
- Highlight positive things about the models
- Show the people in front of the camera specific insights into your previous recordings
- Include the models in your ideas and decisions
- Bring snacks and drinks (optional)
4. Use large light sources indoors (window fronts)
Light plays a major role both technically and visually. It can be used as a stylistic device for the look of the images, but on the other hand it also ensures that something is recognizable and that the quality of the images is ultimately right. There is virtually nothing that can be changed about the lighting in the images afterwards.
If you don't have expensive equipment such as softboxes or photo spotlights, you can easily use the naturally occurring light in buildings. It is always important that you do not take photos against the light, but rather make sure that the subject is exposed to natural light.
5. Try different perspectives
You could try out different perspectives when taking photos. It usually makes a big visual difference whether you photograph from above or below, for example. You can also use a wide-angle lens or the wide-angle option, which most smartphones have integrated these days.
Be sure to be creative here and try it out. Practice makes perfect!
6. Image foreground makes image background
To get a lot out of your images visually and take them to the next level, you can work with focus and blur. True to the motto "Image foreground makes image background" you can put a blurry object in the foreground and thus make the entire image more exciting. We also did this for the cover photo of this blog post and also for the following examples. See for yourself:

7. Planning is important!
We can tell you from our own experience: Plan the shoot in advance! What do you want to shoot? Where do you want to shoot? There are many questions that you should ask yourself in advance so that you can get started straight away. This saves you time and nerves and means you have to improvise as little as possible. You should clarify the following questions before a photo shoot:
- Where do you want to take photos?
- What do you want to photograph?
- Who is in front of the camera?
- Where do you want to use the images? (social media or web)
- What is needed?
- When and how long?
It's best to look for inspiration on TikTok, Instagram or Pinterest in advance and, if necessary, create a mood board. You can also save interesting posts or photos that you like on Instagram and use them later.
Planning is everything! Then you'll have a much more relaxed experience.
8. Enable grid view
Most cameras or smartphones have a grid view that you can activate. This makes it easier to align the camera. This is often very practical on a cell phone because it allows you to have a straight image and to be able to align everything better. This is a suitable tool, especially for beginners, and one that even professionals still use. It's best to always pay attention to symmetry and the composition of the image.
9. Make sure your lens is clean
It actually sounds obvious at first. This is a point that is often overlooked or simply forgotten, but it can have a major negative impact on the result. A certain amount of "grain" or dirt on the lens is sometimes used as a stylistic device, but should only be used specifically and appropriately. So always clean your lenses before you get started. No matter whether camera or smartphone. You can find more good tips on how to take good photos with your cell phone here .
10. Edit your images properly!
The last tip is about editing the images. So you've now had a relaxed and effective shoot and now you have to edit your recordings. Be sure to ensure suitable conditions at your workplace. Don't edit the images in the dark! This is not only bad for the eyes, but also affects the perception of colors. You always need a constant light. If you work in the dark, the colors of the images will look completely different than intended in light or daylight. The images may then be too dark in “normal” light.
Here are a few tips for free tools that you can use for editing:
- The Lightroom Mobile app from Adobe, with which you can edit images like professionals, is free on your smartphone
- There is a free alternative to Photoshop on the PC for image editing: Photophea
- You can find free graphics & filters on Freepik
- At Canva you will find many designs and templates that you can use to promote your school collection
We hope these free photography tips help you get even more out of your pictures. Thanks also to Alessandro from the contentRun agency for giving us such detailed technical input! Feel free to stop by if you need high-quality pictures from a professional.
Good luck with your shoots!
Your Alessandro & Vincent from LYTD® Fashion
If you haven't made a collection with us yet, just find out more at lytd.de or request an offer directly.


